Thursday, 2 August 2018

Rhino's go marching by


I love creating cards and gift wrapping for all the presents I give to the people in my life. Whether they are a family member, a friend or an acquaintance, I get a thrill out of seeing them open the envelope for the card or the gift wrapping for the present as much as I enjoy them actually loving the present. Being able to give a special present in a lovely little box, bag or gift wrapping and having the theme run through from the card to the wrapping is something that I love being able to do.

This beautiful card and gift bag I have made for this blog is just so sweet that I had to share it. I do have 2 people to thank for the inspiration for both the card and the gift bag. The Corner Folded Card was from Sage Kimble @ Stamping Madly and the Envelope Satchel was from Jenny Hayward @ A Stamping Journey.


The stamp set I have used is Animal Outing along with the matching Design Series Paper (DSP), Animal Expedition. The cardstock colours are then easily chosen because in the catalogue, when you have a DSP, the list of colours can then be found underneath it. There are also colour cardstock packs that can be purchased in conjunction with the DSP and these include three of the coordinating colours. This takes even more of the guess work out of the combinations that can be made.


The dimensions and instructions on how to make the bag can be found at A Stamping Journey. I have altered it a bit to fit what I wanted it for but I have been able to fit the card with the gorgeous little rhino and the present into the bag.

Disclaimer: I am unable to show the present at this time as the person who is receiving it may read this blog and I don't want them to see the present too early. If you wish to see the present head on over to my Facebook page after Tuesday 7th August and there will be a picture and the link to the page of the gorgeous and talented Sarah at Entwined Wire Designs.


Monday, 9 July 2018

Colour Coaching

With the revamp of the colours in the new annual catalogue for 2018-19 Stampin' Up! have provided us with a wonderful tool with the colour coaching sheets. These sheets have ALL the colours in the catalogue starting with the new In Colours for season 18-19, continuing on with the In Colours for season 17-18 and then all the other colours that Stampin' Up! provide. With each colour as a main colour in each section the colour coacher then provides three different suggestions of colours in the catalogue that will go with that main colour. If you have used Stampin' Up! products before you will know that this is a very handy resource as everything then coordinates, the cardstock, the Designer Series Paper (DSP), the inks, the Stampin' Writes and the Stampin' Blends.

A4 printed sheet with the 18-19 In Colours and their suggestions
 I wanted to be able to provide these sheets to the ladies that attend my classes regularly but didn't want to just give them stapled together sheets of A4 paper and say here you go. So I got my thinking cap on as to what I could do and came up with making a handy little book that can be stored with your stamps and pulled out whenever you have a problem with trying to think of colours to put together. This is the little book:


I printed the nine pages onto plain white paper, then cut them into the rows making sure to leave an extra 2cm tab to be able to join to the next row.


I then put double sided tape on the front side of the tab and joined each row together as shown below:


Using the scorer on the cutter I scored down each line so that I had an easy line to fold each row. I then folded these into an accordion fold, starting with the tab at the Pineapple Punch end so that the right sides were facing each other.


Once this was done I then cut a piece of cardstock 16.2cm x 10.5cm, scoring at 7.5cm from each end of the cardstock to make a book cover. Then cut 5 pieces of DSP, four pieces (for the outside and inside of the front and back covers) at 10cm x 7cm and one piece (for the spine) at 10cm x 1cm.


Then I stuck the tab that is still exposed from on the Pineapple Punch side to the left hand side of the inside of the cover. Making sure to match up the folds with the white paper and the left hand side of the spine. Then stuck the DSP for the inside over the tab so that it can not be seen.


This was then repeated for the back cover as well, sticking the exposed tab at the Early Espresso end to the inside of the back cover, making sure to match the folds together and then sticking the DSP to the inside to cover the exposed tab.

When altogether your book should open easily to show a little book of awesome colour.


And as I am giving these books to the ladies that attended my last class I have packaged them up in a bag with ribbon and a tag.


If you have any questions or would like to order one from me please contact me:

Email: jodi@ink-possible.com

Facebook: https://www.facebook.com/jodiinkpossible/

I look forward to hearing from you.

Cheers and happy stampin'

Jodi xo 


Sunday, 17 June 2018

Midnight Inklings Team Blog Hop - New Annual Catalogue 2018


This has been on my mind all week, writing this blog. I'm not very good at blogging, mainly because I just don't have time but also because I am not very good at it. I see everyone else's blogs and I just feel like I have no creativity when it comes to blogging or designing my blog. I don't even have the time at the moment to try to insert my logo onto the title page correctly.

Anyway, this blog is not about me not having time to make my blog better but about the new annual catalogue and the gorgeous and amazing products that can be found in it. I only have a limited amount of what is new in the catalogue but I do have the one tool that is making all our lives, as stampers, so much easier these days and that is the Stamparatus.


I have managed to incorporate this blog AND preparing for my Share What You Love card class on Sunday 17th June, which has saved me time. The Stamparatus has helped me to get my preparation done for the class as well as take stage photos for this blog to explain how this fantastic tool can help with the fiddly little projects we find ourselves making.

As I said I am doing a Share What You Love card class and this is incorporating the bundle that was on offer to all customers during May. I have used the examples that were shown with these bundles as the cards that the ladies will be making in the class. The third card that we will be making is a bit more advanced and I have been able to use the Stamparatus to put the Congratulations together.


Using the Make a Difference Photopolymer Stamp Set I have used the Stamparatus to step stamp the letters onto the precut banner. The following photos show how this worked:


Preparing to add the first letter, the capital C. The washi tape is positioned so that
the six precut banners all go in exactly the same place so that the C is stamped in
exactly the same place on each banner.
All the capital C's have been stamped and are all in the same place.
Next is to stamp the rest of the letters.
Being able to move the clear plate up and down in steps means that you are able
to line several letters up at a time and complete a banner quickly and easily.
The Stamparatus helps with two and three step stamping as well and comes with a clear plate that can be used at the top as well.

Thank you for visiting my blog and hope you have enjoyed the Stamparatus review.

Cheers and happy stampin'

Jodi xo


Midnight Inklings Team Blog Hop - New Annual Catalogue 2018 – Participant List

5: Jodi Gerardis (You are here)

Product List

Thursday, 16 November 2017

Changes are coming

I know it has been a while since I last posted anything but I have a really good excuse!!! There is a change coming with my business. Wait for it...

I am now a registered business!!! My new business name is:

INK-possible

I am working really hard on my branding, getting colours, fonts and a logo designed. I will then be changing Facebook and Instagram to the new name and changing my blog provider as well. I will let you all know when all of these changes happen. I am hoping to have everything sorted by the end of January 2018.

Speaking of the new year, I will be unavailable from Saturday 23rd December 2017 until Sunday 28th January 2018. Of course there is Christmas but from the 27th December to the 25th January my family and I will be out of the country on a well earned trip to Europe to visit my sister and her family in Germany and then onto Poland, Italy, France, England and Scotland to take in the sites and sounds.

There are a few things that will be happening at the start of January though with the new Occasions and Sale-a-Bration catalogues coming out. I am hoping to be organised enough to be able to have things come out about it on Facebook and Instagram so keep an eye out.

I will also be reorganising myself with classes next year. As a few of you know I am studying with CSU online and will be in my second year next year. I discovered this last semester that doing 2 subjects and trying to run classes didn't work very well so I will be getting my schedule for uni first and then working classes into that. So there may only be a handful of classes next year but I will try very hard to keep you all up to date and throw a couple of surprise events in.

With my business being registered and having a logo, etc I am also going to be going to a few craft markets and fairs during the year as well. My first one I will be at is the OLQP Craft Market next Saturday 25th November 2017. If you are in the are come and visit me!!!


So that is my news for now. I will be working hard to get everything sorted and ready by Christmas so that I start the new year with a new look and new name. Keep an eye on Facebook and Instagram to see the changes. I am very excited to get it all done.

Cheers and talk to you all on the flipside, or the side of all the changes anyway.

Jodi xx

Saturday, 29 July 2017

Doing favours for friends


Birthday invitations are so much fun to do and using the mini treat bag thinlits to make a cute little envelope to hold the invitation is always a cute little bonus.  However this blog is not about the cute little invitation it is about being a good friend and trying to help people out when you are also trying to run a business.

I absolutely love playing with paper and stamps and creating gorgeous cards and invitations for people.  I also love being able to share my love of this craft through my card classes.  Like everyone these days I do not have a lot of time on my hands with 3 kids, full time work, part time study and my card classes, oh and trying to fit in time to see my husband as well, time is of the essence.  When I offer to do a sample of an invitation for a friend it takes time and I do it understanding that they do want to order the invitation from me.

I did the sample above for a friend.  She wanted a design for her younger and older daughter's birthday parties in July.  She required 30 invitations in total and I spent an hour designing and making the sample as shown and quoted her $2 for each invitation, which included an envelope as well.  This is very cheap I know but I could make it for that as I wasn't having to buy any of the product I was using. This amount didn't even cover the time I would have spent making the invitations but she is a friend and if she is happy she will tell friends and that is how word of mouth happens. However, after spending an hour deciding on the design and colours and going through all my patterned papers (non SU!) to pick out colours to go with the coloured cardstock (SU!) I had picked, putting it together and then photographing it to send to her, she came back to say that her husband would kill her if she spent that much on invitations and so the job didn't happen.  I was really upset but it has been a lesson learnt that if I am going to do even just a sample for someone, even a friend, I will ask for money for my time and effort.


Monday, 3 July 2017

A baby is coming

Five months have passed by so quickly.  There has been so much going on with the kids, study and classes that I have not had time to come on here and update you.  I have had many successful classes over the last few months using a lot of different techniques and stamps. Hopefully, one day soon, I will have time to blog about them. With the new Annual catalogue coming out last month I had a launch class with 2 lovely ladies. One of them was a new lady which was so wonderful.  I love meeting new people and sharing my passion with them.

This blog however is to show you a project I have done recently for a gorgeous girl that I consider a sister. Loryn and I started working together almost 10 years ago at an event decorating company. She and I hit it off straight away and we have seen each other through many life changing events. She has always asked me to make invitations for her life changing events and the one I have just completed was her baby shower invites as she is expecting her first baby.


I had so much fun choosing the colours and with the new Annual Catty coming out there were new baby stamp sets to pick from.  I chose the gorgeous Moon Baby and used some of the new colours as base cardstocks.  I did use a retired DSP, the beautiful A Little Foxy DSP which I absolutely love. It is great to be able to use retired cardstock and DSP on invitations.


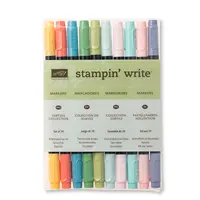
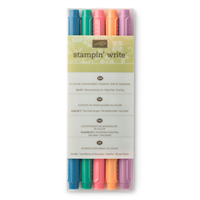
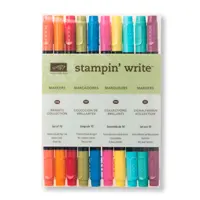
I did the printing on my inkjet Canon printer at home and then stamped the baby with the umbrella, toys and stars with Memento Tuxedo Black ink and coloured with the Stampin' Write markers. The actual colours I have used for the colouring are:

Lemon Lime Twist - baby and umbrella to match the cardstock used as base
(from the 2017-2019 In Colour Stampin' Write Marker box set)
Daffodil Delight - baby and umbrella to match the cardstock used as base
(from the Brights Stampin' Write Marker box set)
Peekaboo Peach - baby and umbrella to match the cardstock used as base
(from the 2016-2018 In Colour Stampin' Write Marker box set)
Bermuda Bay - baby and umbrella to match the cardstock used as base
(from the Brights Stampin' Write Marker box set)
Sweet Sugarplum - baby and umbrella to match the cardstock used as base
(from the 2016-2018 In Colour Stampin' Write Marker box set)
Tranquil Tide - ears and body of sheep
(from the 2017-2019 In Colour Stampin' Write Marker box set)
Pear Pizzazz - arms, legs and face of sheep
(from the Subtles Stampin' Write Marker box set)
Wisteria Wonder - rabbit
(from the Subtles Stampin' Write Marker box set)
Smoky Slate - teddy bear
(from the Neutrals Stampin' Write Marker box set)
Crushed Curry - all the stars
(from the Regals Stampin' Write Marker box set)
Baked Brown Sugar - baby's hair (retired)

For all the other products used please see the supply list below.

If you wish to replicate these gorgeous invitations please contact me through Facebook or email to order the supplies.


Sunday, 26 February 2017

Mistakes???

I held a class on Friday night with my regular 3 ladies that come.  We used the Lift Me Up Bundle from the Occasions catalogue, along with the Carried Away DSP from the SAB catalogue that goes with the bundle.  I have cased the cards, which I am doing at the moment until I get the confidence to design my own cards, from Pinterest.  (Thank you to Sandy Mott, Su Moh, Julie DeSuia and Juana Create for your awesome ideas).

On the very first card one of my ladies made a "mistake".  Now I put that in quotation marks because as we all know as crafters, there are no mistakes in crafting, it is artistic flare and we can always make it look like it was meant to be.  The first card is how I had done the sample and the second is Deb's card:


Looking at them you really can't tell what has gone wrong but Deb had stuck the clouds under the holes in the watercolour paper instead of on top.  However she turned the watercolour paper up the other way so that clouds were above the holes and she stamped the sentiment above the balloon.  It is different but also the same.  It just adds a little touch that is her own.

When I was demonstrating a different card I tore a little piece of the Whisper White cardstock on the front and I thought I would add something to it once I was finished but instead of that I covered it with what I already was using on the front of the card.  Once again the sample I had made earlier is on the left and the demonstration one is on the right:


It was just a matter of moving the sentiment and the balloon to different sides and it was all good.

Deb's comment when I showed that I had had to move some stuff around was, "Oh I feel better now that you have made a mistake too".  I told her it wasn't a mistake just a way to make it look a little bit different.  So don't be worried if you think you have made a mistake, it gives you options to just be a bit more creative.


Wednesday, 15 February 2017

What's in a Challenge?

So there are a lot of blogs and websites out there that encourage us to challenge our thinking and the way we design.  Last weekend, during the hot, hot weather that hit Sydney my upline, Katrina, was doing a challenge she had found on TGIF Challenges.  I decided I would try it as well and came up with the following:


I wanted a good luck card for a casual that has been working with us at school for the past few months and she is leaving on Friday to start Uni next week.  I know she will do well, I just wanted her to know I am thinking of her.

The challenge sketch was #TGIFC94:


I am pretty happy with my attempt.  I hope the designers at TGIF Challenges love it too.

Supply List:


Wednesday, 28 December 2016

Change

I have had this topic going around in my head for the last few weeks.  As I have found a lot of my crafting habits changing with this Christmas season.

There are so many things that you can change in your life:
* clothes
* mind
* money
* history
* places
* behaviour
* expression
just to name a few.

And then there are so many ways to say "change" as well:
* adjustment
* development
* diversity
* revolution
* shift
* switch
* transition
* variation

I like to think that all the synonyms listed above describe how I have changed how I think about my crafting, especially card making.

I remember a long-ish time ago I was over at a really good friend's place and I was scrapping and she was pottering and wondering what to do.  She finally decided that she was going to sit down and stamp some paper bags for birthday wrapping, etc.  Anyway, I looked at how fiddly it looked and said "I would never do that, it's just too fiddly".  I have just learnt that I should not say "never" because that is how Stampin' Up! has changed my mind, behaviour and expression.  See below for the wonderful changes I have made to my Christmas gift giving this year.

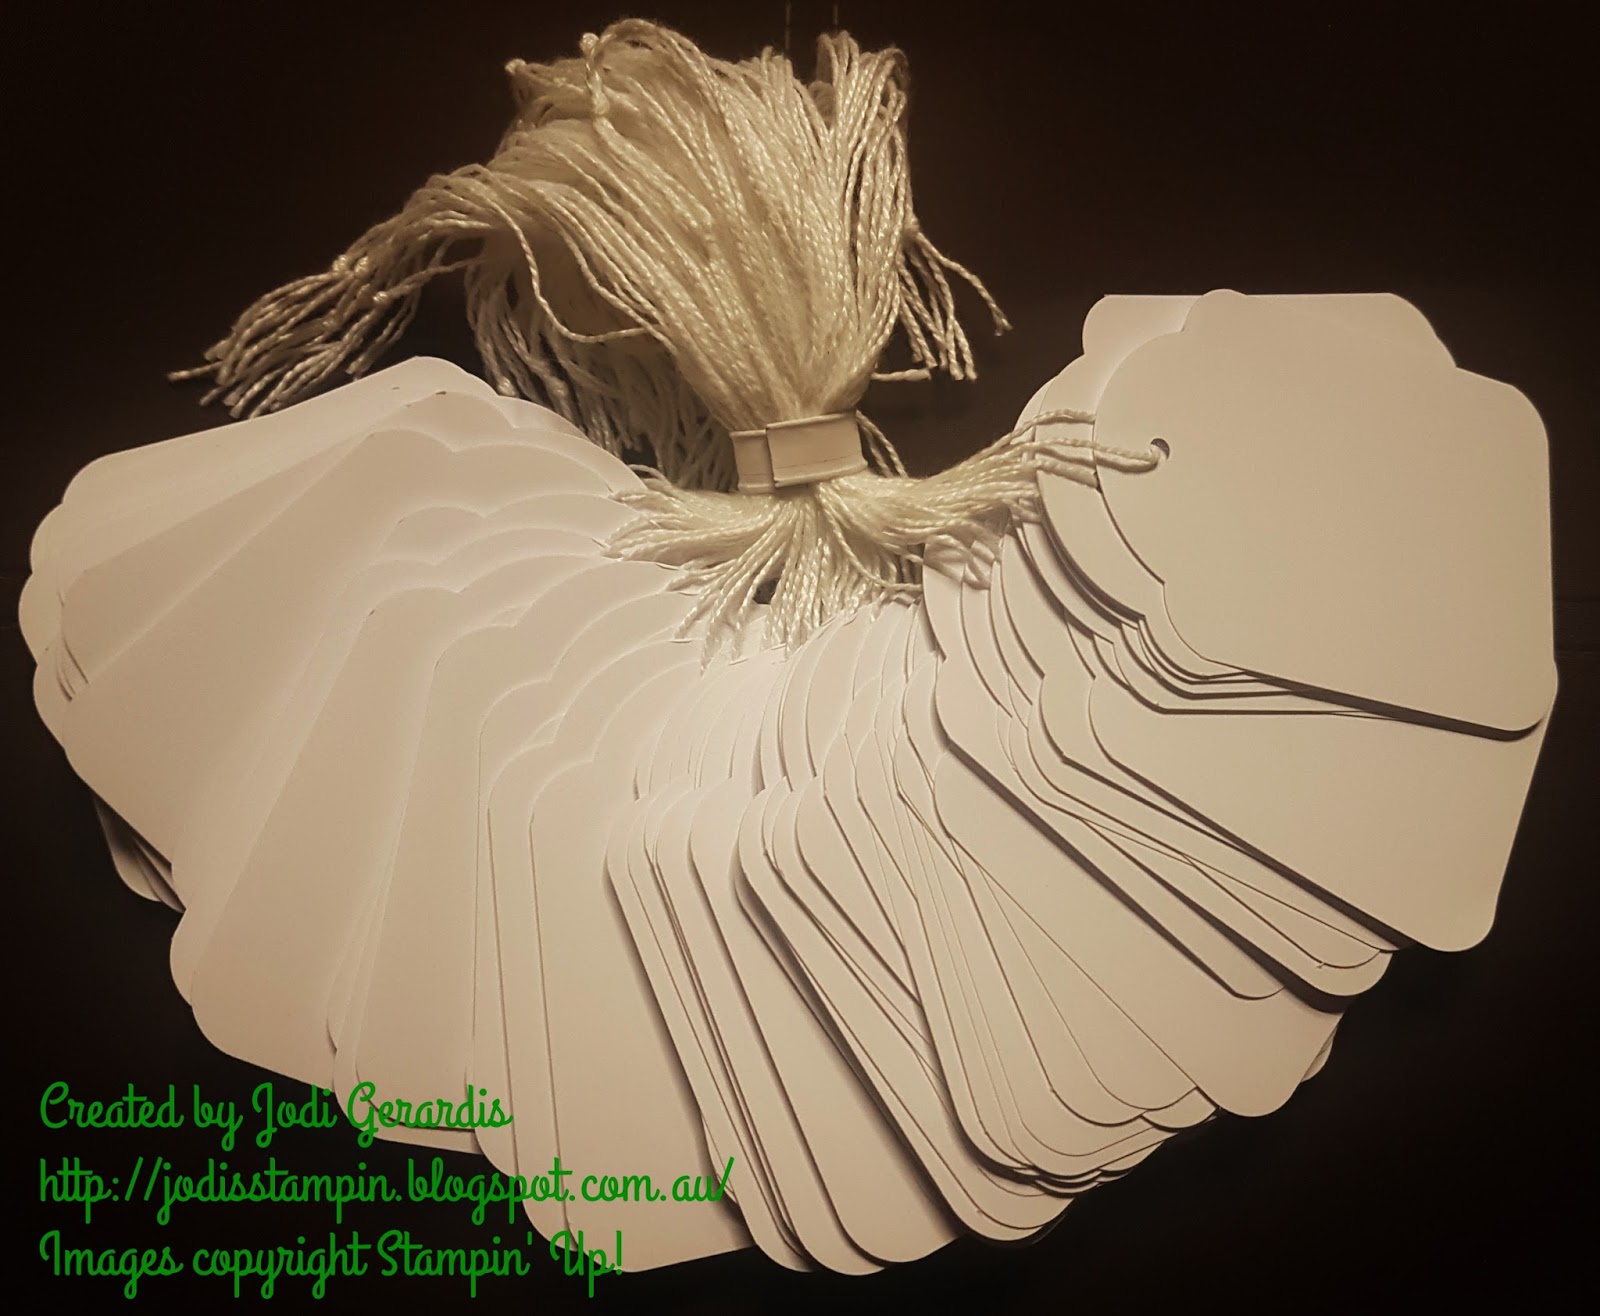
I cheated with the tags, as a fulltime working Mum I just did not
have the time to sit down and make my own tags.  So I went to the
newsagent and bought tags already made and threaded for about $8.

Then I stamped to my hearts content.

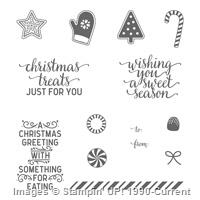
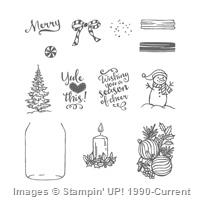
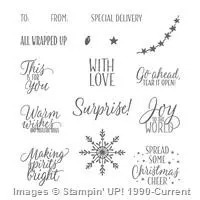
Using the Candy Cane Christmas, Jar of Cheer and Tin of Tags stamp sets and stamp pads, pens and aqua painter I have turned the plain tags into beautiful gift tags.  I have attached a product list for you to see what I have used.


Even the paper got in on the act.  I used the paper I had saved from the packaging
from my Stampin' Up! parcels and stamped it.


Well this blog is finally done, it is 3 days after Christmas now and the chaos is over.  I hope everyone had a wonderful Christmas and are looking forward to a relaxing few days before the New Year pops in and starts the process of school, work and life all over again.

Wishing everyone a very happy and healthy New Year and 
I hope you are looking forward to the wonderful things Stampin' Up! will be offering in 2017!!!

Cheers and happy stamping

Jodi xo

Product List: